

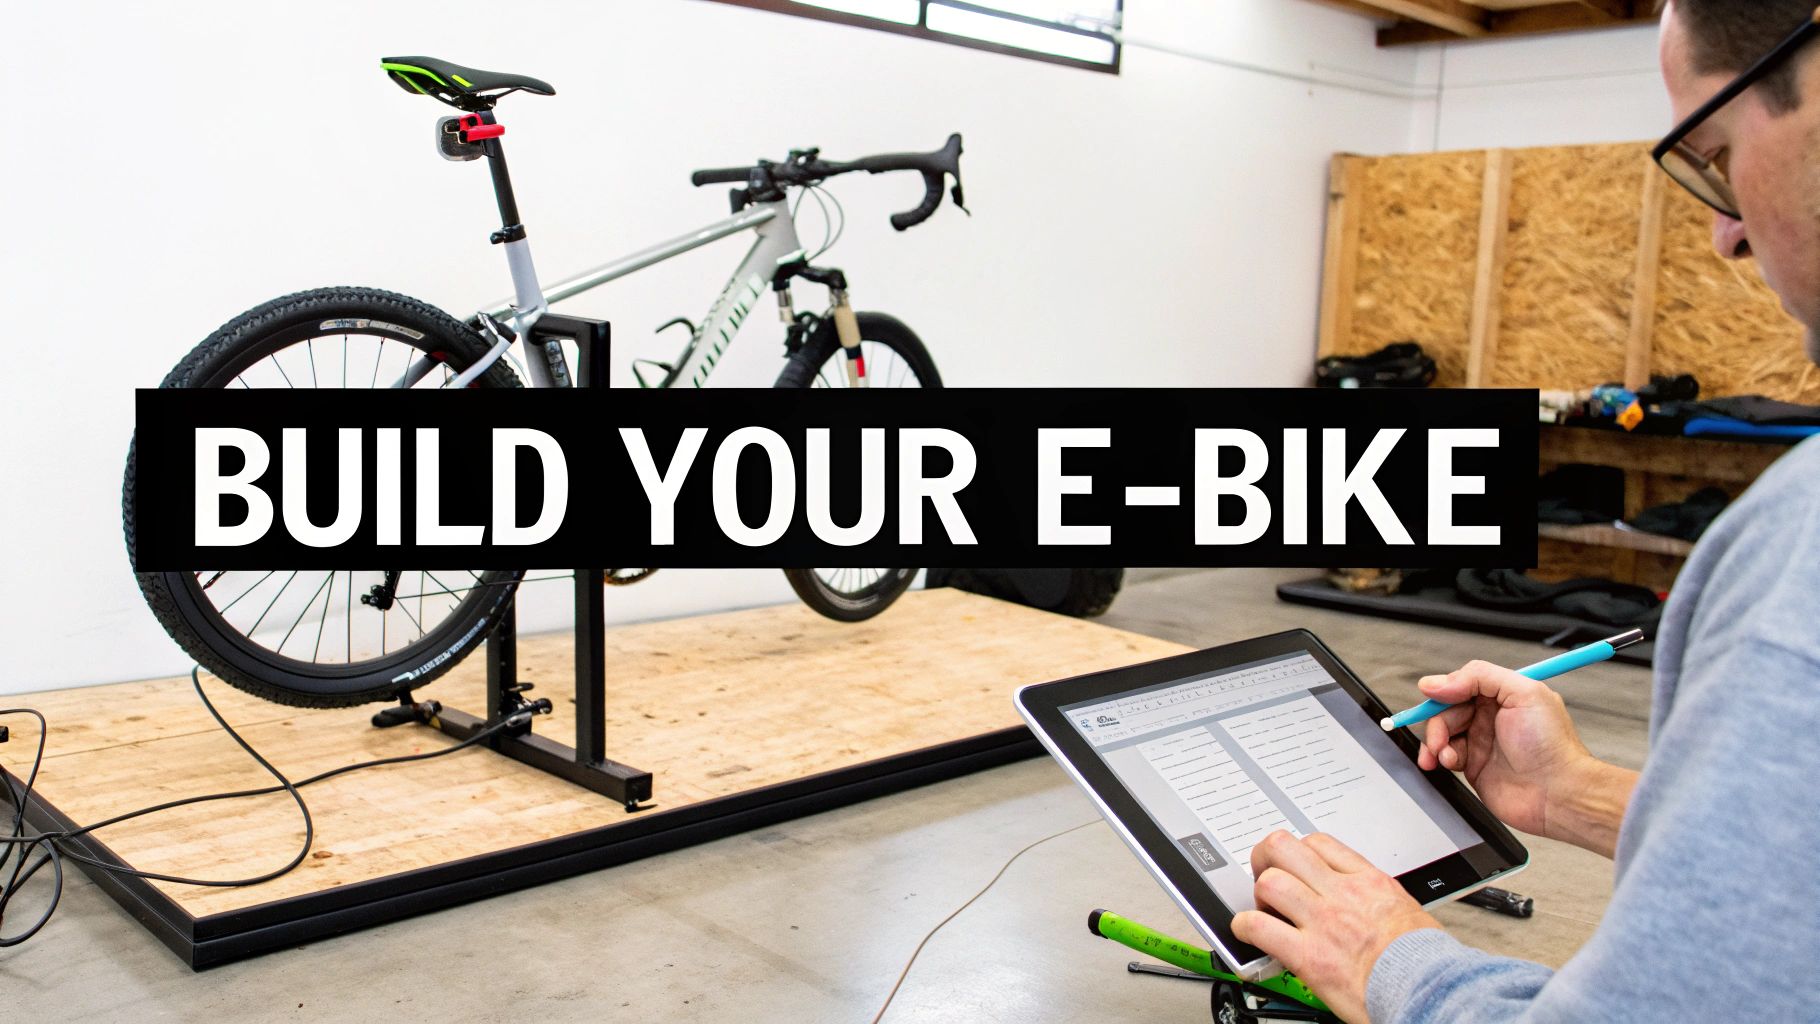
Building your own electric bike is one of the most satisfying projects you can tackle. It’s a perfect blend of hands-on work and creative expression, and the end result is a one-of-a-kind ride that’s truly yours. You’re in the driver's seat, picking out the motor, battery, and controller and fitting them onto a bike frame you love. This approach gives you absolute control over how your bike performs, how far it can go, and exactly how it looks.
Your DIY Electric Bike Journey Starts Here
Jumping into a DIY e-bike project is about so much more than just saving a few bucks. It's your chance to get to know your machine inside and out. Every single component is chosen by you, for you. Want a low-profile commuter for zipping through downtown? You can build that. Craving a beast of a bike to conquer steep hills on the weekend? You can build that, too. Think of this guide as your complete roadmap—we're here to break down the entire process, from start to finish.
We'll walk you through the real-world ins and outs of assembly, wiring, and those all-important safety checks. Our goal is to make sure you have the confidence to turn a regular old bicycle into a capable, custom e-bike. When you build it yourself, you're doing more than just putting parts together; you're creating something that perfectly suits your riding style and plugging into a worldwide shift toward smarter ways of getting around.
Why Build When You Can Buy?
The magic of building your own e-bike is all about the customization and the pride you feel when it's done. Sure, off-the-shelf e-bikes are convenient, but a DIY project puts the power in your hands to make the decisions that give your ride its soul.
- Total Performance Control: You get to pick the motor wattage, decide on the battery voltage, and tweak the controller settings to get the exact speed and torque you’re after.
- Unmatched Value: By sourcing the components yourself, you can often build a bike with better performance for way less than what a similar pre-built model would cost.
- Deeper Mechanical Knowledge: You’ll learn exactly how every part of your bike works. This makes future maintenance and repairs feel a lot less like a mystery.
As you get started, you're also stepping into the exciting broader world of e-mobility, a space that's all about sustainable and innovative transportation.
This isn't just a niche hobby; you're joining a massive movement. The global e-bike market was valued at around USD 61.89 billion and is projected to keep growing, highlighting a huge shift in how people move through cities.
Choosing Your E-Bike's Core Components
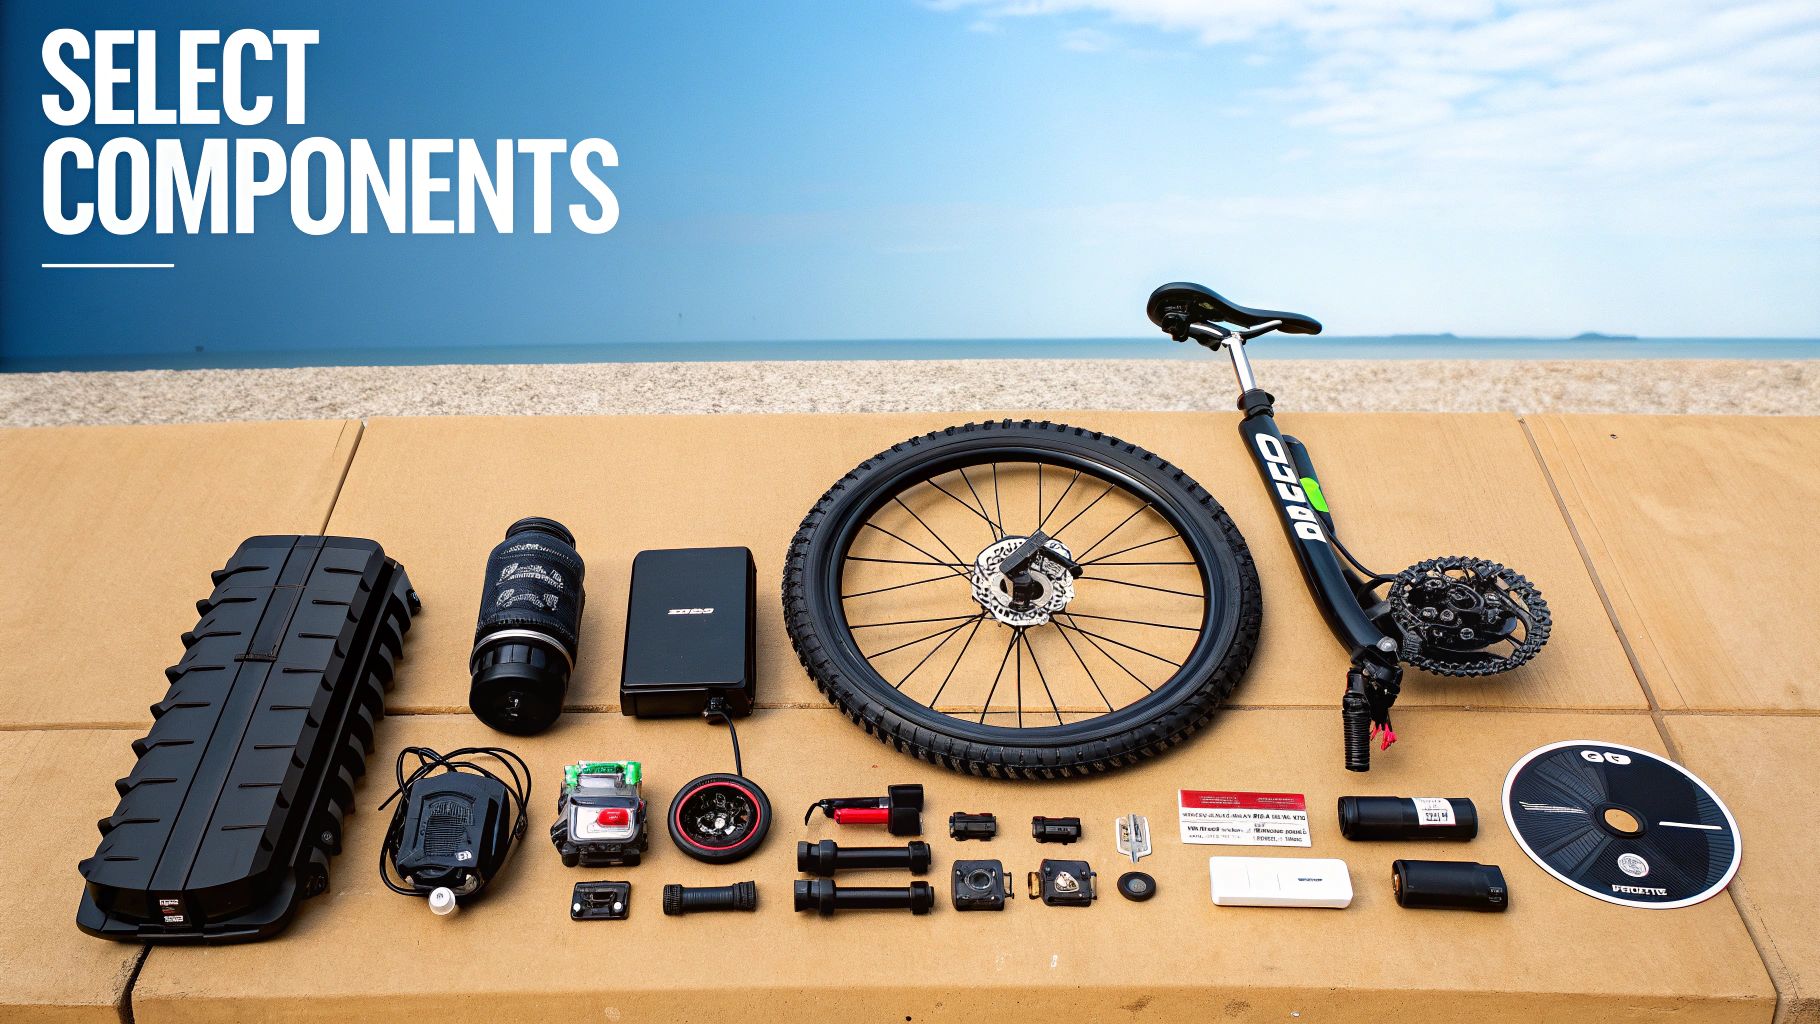
Alright, let's get to the fun part—the heart of your new electric bike. While the frame is the skeleton, the real soul of your ride comes from three critical pieces of hardware: the motor, the battery, and the controller.
Getting these three components right is everything. They dictate how your bike feels climbing a hill, how fast you can get off the line, and how far you can go before you're pedaling home on your own steam. Think of them as a team: the battery is your power tank, the motor is the engine turning that power into motion, and the controller is the brain making sure everything works together smoothly.
Selecting the Right Motor for Your Ride
Your choice of motor is probably the biggest decision you'll make in this whole process. It directly impacts the feel of the ride, how tricky the installation will be, and what your bike will ultimately be capable of. You've basically got two main camps to choose from.
Hub Motors
These are the go-to for most DIY e-bike kits, and for good reason. They live inside the hub of your front or rear wheel, making them relatively straightforward to install and wallet-friendly.
- Front Hub Motors: Easiest of all to install. Since they don't mess with your chain or gears, you can pop one on pretty quickly. You get a cool "all-wheel-drive" feeling, with the motor pulling you from the front while you pedal the back. The only catch is they can sometimes lose a bit of grip on loose stuff like gravel.
- Rear Hub Motors: This is my preferred setup for most builds. It feels more natural, like you're being pushed from behind, and you get much better traction. The installation is a bit more involved since you have to work around the cassette, but it’s a fantastic all-around choice.
Mid-Drive Motors
These beasts are mounted right where your pedals are, at the bike's bottom bracket. Instead of turning the wheel directly, a mid-drive motor powers the chain itself. This is a total game-changer because it lets the motor use your bike's gears.
Climbing a monster hill? Just shift into a low gear, and the motor gets a massive torque boost to power you up. The trade-offs are a higher price tag and a more complex installation that often requires special tools. When you're digging into specs, understanding the motor torque calculation will help you match the power to your needs.
For a first-timer, a 500W to 750W rear hub motor is the sweet spot. It delivers plenty of power for most commutes and hills without getting too complicated or expensive.
To make things even clearer, let's break down how these motor types stack up.
E-Bike Motor Type Comparison
| Motor Type | Pros | Cons | Best For |
|---|---|---|---|
| Front Hub | Easiest to install, creates an "AWD" feel. | Can cause front-wheel spin on loose terrain. | Flat-land commuting, simple and budget-friendly builds. |
| Rear Hub | Excellent traction, natural "push" feel, widely available. | More complex install than front hub motors. | All-around use, general commuting, moderate hills. |
| Mid-Drive | Leverages bike's gears for incredible climbing, balanced weight. | Most expensive, complex installation, more wear on drivetrain. | Serious hill climbing, mountain biking, high-performance builds. |
Ultimately, the right motor depends entirely on your bike, your budget, and the kind of riding you plan to do.
Understanding Your Power Source: The Battery
If the motor is the muscle, the battery is the heart pumping the juice. When you're shopping for one, don't just look at the Voltage (V). You have to consider the Amp-hours (Ah), too.
Think of it this way: Voltage is the "horsepower," while Amp-hours is the "size of the fuel tank." To get the best measure of total capacity, you multiply them to get Watt-hours (Wh). For example, a 48V 13Ah battery gives you 624Wh of energy. For most people, that's enough for a solid 25-40 miles of range, but that number can change a lot based on hills, how much you pedal, and your weight.
For a deeper dive, our electric bike buying guide has a whole section on estimating your real-world range.
The battery pack market is exploding—it was valued at USD 11.3 billion and is projected to hit USD 45.1 billion in the next decade. Always look for packs built with quality cells from reputable brands like Samsung or LG. And make sure it has a solid Battery Management System (BMS). That little circuit board is your battery's bodyguard, protecting it from overcharging, overheating, and short-circuiting. It’s absolutely critical for safety and a long battery life.
The Controller: The Brain of the Operation
The controller is the unsung hero that ties everything together. This small box is the central nervous system of your e-bike, connecting the battery, motor, throttle, display, and sensors. It takes your input—a twist of the throttle or the signal from your pedal sensor—and tells the motor exactly how much power to draw from the battery.
The most important thing is to match the controller's specs to your battery and motor. A controller rated for 48V and 22A, for instance, is a perfect fit for a 750W motor and a 48V battery. A mismatch can lead to lousy performance or, even worse, fried components. Luckily, most conversion kits bundle a pre-matched controller, taking all the guesswork out of it for your first build.
Getting Your Tools and Prepping the Bike
Every successful e-bike build starts long before you bolt on a single part. It begins with preparation. Trust me, jumping into an assembly without the right tools or a properly checked-out bike is a fast track to frustration. Think of this as laying the groundwork—a little time spent here will save you hours of headaches later on.
First things first, let's talk about your workspace. You don't need a pro-level shop, but a clean, well-lit spot with a sturdy bike stand will make your life so much easier. You can work on the floor, but having the bike at a comfortable height saves your back and actually lets you see what you’re doing.
Once you've got your space sorted, it's time for a tool roundup. The good news is that most of an e-bike conversion can be done with a standard set of bicycle tools. However, there are a few specialty items that are pretty much non-negotiable for a smooth installation, especially if you're tackling a mid-drive motor.
The Essential Tool Checklist
You probably have a lot of this stuff kicking around your garage already, but it's always smart to do a quick inventory. Having everything within arm's reach means you can stay in the zone instead of constantly stopping to hunt for a tool.
- Metric Allen Key Set: This is your number one. You’ll be reaching for sizes from 2.5mm to 8mm for everything from tightening handlebars to securing motor mounts.
- Wrench Set: A solid set of metric combination wrenches (think 8mm to 17mm) is essential for all the nuts and bolts. An adjustable wrench is also a great backup for any odd-sized fasteners you encounter.
- Tire Levers and a Good Pump: If you're installing a hub motor, the wheel has to come off. These are a must.
- Wire Cutters & Zip Ties: These will be your best friends for cable management. A clean, tidy wiring job is the difference between a pro build and a sloppy one.
Specialty Tools That Make a Huge Difference
While not every kit requires these, they can turn a brutally frustrating task into a five-minute job. If a mid-drive motor is in your future, the first two on this list are basically mandatory.
- Crank Puller: This is the only safe way to remove your bike's existing crank arms without damaging them or the bottom bracket.
- Bottom Bracket Tool: This is specific to your bike's bottom bracket type (like a square taper or Hollowtech II). You’ll need it to get the old unit out and make room for the new mid-drive.
- Chain Breaker: It's very likely you'll need to shorten or lengthen your chain to work with the new drivetrain setup.
Here’s a piece of advice from my own hard-learned lessons: buy a decent crank puller. Early in my building days, I tried to pry a stubborn crank arm off with a hammer and a screwdriver. I ended up with a deeply scratched frame and a ruined crankset. A $15 tool would have saved me all that grief.
Give Your Donor Bike a "Pre-Flight" Inspection
With your tools laid out, it's time to put the bike itself under the microscope. Look, not every bicycle is a good candidate for electrification. The added weight from the motor and battery, plus the serious boost in speed and torque, puts a whole new level of stress on the frame, brakes, and wheels.
Start by giving it a thorough cleaning. A clean bike is way easier to work on, and it lets you spot potential problems that might be hiding under layers of dirt and grime. Pay close attention to the frame, especially around the welds and the bottom bracket area. You're looking for any signs of cracks, deep rust, or damage. An aluminum or steel frame is usually your best bet. I’d steer clear of carbon fiber frames unless the manufacturer specifically says they're okay for e-bike conversions—the clamping forces from a motor can cause them to fail catastrophically.
Next, get serious about your brakes. Your old rim brakes might be fine for a low-power setup, but for anything over 500W, I strongly recommend moving up to mechanical or hydraulic disc brakes. The stopping power you need for a heavier, faster e-bike is no joke. At a minimum, make sure your brake pads have plenty of life left and that your cables are in top shape.
Finally, break out the measuring tape for a few critical dimensions. For a hub motor, measure the space between your rear dropouts (the slots where the wheel axle sits). Most kits are designed for 135mm, which is a common standard for mountain and hybrid bikes. If you’re going the mid-drive route, measure the width of your bottom bracket shell. The vast majority of kits are made for a standard 68-73mm shell. Nailing these measurements before you buy a kit is the best way to ensure it will actually fit, saving you from a massive roadblock mid-build.
The Assembly Process: From Parts to Power
Alright, this is the moment of truth. You’ve got a pile of carefully chosen parts, a prepped donor bike, and a clean workspace. It’s time to get your hands dirty and turn that collection of components into a real, rideable electric bike. We're moving past the "what if" and into the "how-to." Forget generic instructions; I'm going to walk you through this with real-world tips I've learned from countless builds to help you sidestep the common headaches.
This is where patience becomes your most valuable tool. Rushing through the mechanical or electrical work is just asking for trouble later on. Take your time. Double-check every connection. Focus on doing it right, not just doing it fast. A methodical approach now is what guarantees a safe, reliable, and fun ride for years to come.
Think of it like this: a successful build starts with a solid foundation. You need to inspect, clean, and measure everything before an e-bike part even gets near the frame.
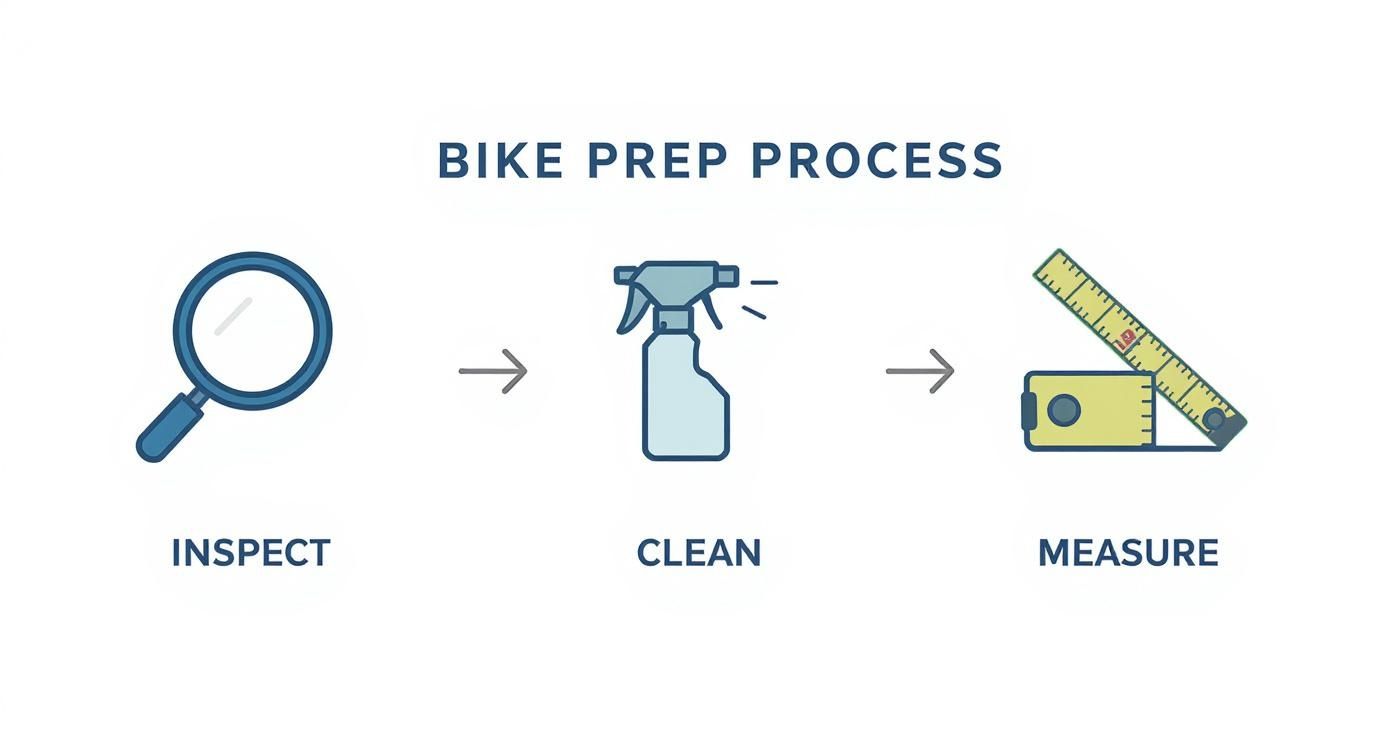
This simple flow is key—get the bike right first, and the e-bike conversion will go a whole lot smoother.
Mounting the Motor
How you tackle this step depends entirely on whether you went with a mid-drive or a hub motor. They're two completely different beasts, each with its own set of quirks. Nailing this part is absolutely fundamental to the bike's performance and, more importantly, its safety.
Mid-Drive Motors: A mid-drive installation is definitely the more mechanically involved of the two. You'll start by removing your bike's original crank arms and bottom bracket. This is where those specialty tools, the crank puller and bottom bracket tool, earn their keep. Once the bottom bracket shell is clean and empty, you can carefully slide the motor assembly into place.
The trick here is getting a snug, secure fit without going overboard on the torque. Most kits include a mounting bracket and bolts. You'll want to tighten them down in an alternating pattern—think of it like tightening the lug nuts on a car wheel—to ensure even pressure. This is crucial for preventing the motor from shifting under power and protecting your frame from stress damage.
Hub Motors: A hub motor installation, by contrast, feels a lot more like swapping out a wheel. You'll simply install the new wheel with the motor built into its hub, making sure the axle is seated all the way into the frame's dropouts. But there's one critical step you cannot skip, especially with a powerful motor: installing torque arms.
A torque arm is a small but mighty metal brace. It transfers the immense rotational force of the motor from the axle (the weakest point) to a stronger part of the frame, like the chainstay. Without one, a powerful motor can literally tear its own axle out of the dropouts. It's a catastrophic and incredibly dangerous failure. For any motor over 500W, I consider torque arms absolutely non-negotiable.
Wiring Up the Brains of Your E-Bike
With the motor bolted on, it's time to connect the nervous system. The web of wires can look pretty intimidating at first, but modern e-bike kits have made this process almost foolproof. Most connectors are color-coded and keyed, meaning they're designed to plug in only one way, which dramatically cuts down on the chances of a mistake.
Your controller is the central hub where everything comes together. You'll be plugging in a few key components:
- The Battery: This is your main power line, usually the thickest wires with a beefy connector. Pro tip: Always connect this last. This prevents you from accidentally shorting something out while you're connecting all the other low-voltage components.
- Motor Phase Wires: These are three thick wires (often green, yellow, and blue) that actually drive the motor. Match the colors, push them together firmly.
- Hall Sensor Connector: This smaller, multi-pin plug is the motor's communication line back to the controller. It's what allows for smooth, controlled starts.
- Display and Throttle: These are your controls. The display usually connects directly to the main harness, and the throttle will have its own dedicated plug.
- Brake Sensors: If your kit came with new brake levers or add-on sensors, connect them now. They're a vital safety feature that instantly cuts motor power the second you touch the brakes.
The last piece of this puzzle is the pedal-assist sensor (PAS). If you're wondering how these work to give you that magical boost, you can learn more by checking out our guide on what is pedal assist on an ebike. Installing it typically involves fitting a magnetic ring onto your crankset and a sensor onto the frame, which tells the controller you're pedaling and it's time to engage the motor.
Achieving a Pro Finish with Cable Management
Okay, everything's connected. You could technically hop on and ride right now, but a build isn't done until the wiring is neat, tidy, and protected. This is more than just about looking good; smart cable management prevents wires from snagging on branches, getting damaged by rain, or slowly fraying from rubbing against the frame.
This is where you'll lean on zip ties, spiral wrap, and a bit of planning.
- Map Your Routes: Before you start fastening anything, lay the wires along the frame. The cleanest look usually comes from following the path of your existing brake and shifter cables.
- Bundle Up: Use spiral wrap or tech-flex sheathing to group wires that are heading in the same direction. This turns a rat's nest into a single, clean line.
- Secure and Snip: Use zip ties to attach the bundles to your frame. Pull them tight enough to be secure, but not so tight that you're pinching the wires inside. A flush-cut pair of trimmers will let you snip the ends off cleanly.
One of my favorite tricks is to use adhesive-backed zip tie mounts on flat surfaces, like under the downtube. They give you a solid anchor point and help you create perfectly straight, professional-looking cable runs. Spending an extra 30-60 minutes on cable management is what separates a project that screams "homemade" from one that looks like it came from a high-end bike shop. It’s that final touch that makes it a bike you’ll be truly proud of.
Final Checks, Testing, and Riding Safely
https://www.youtube.com/embed/CgL9Suf7oT8
Alright, the bike is built. You’re looking at your creation, and the urge to just hop on and rip it down the street is almost overwhelming. But hold on a second. This next part is arguably the most critical step in the entire process.
This is your pre-flight inspection. Rushing now could turn that first glorious ride into a disaster. We need to move from assembly to assurance, making sure your new e-bike isn't just fast, but completely safe and predictable.
Your Pre-Ride Safety Checklist
Before those wheels even think about hitting the pavement, it's time to go over the bike with a fine-toothed comb. This isn't just a quick glance; it's a methodical check to confirm every single part is working exactly as it should.
- Torque Check Everything: Grab your tools and re-check every bolt you touched. I'm talking motor mounts, axle nuts, torque arms, handlebar clamps, brake calipers—everything. Nothing should be loose.
- Brake System Verification: This is completely non-negotiable. Squeeze the brake levers. They should feel firm and solid, not soft or spongy. Spin each wheel and make sure the brakes grab effectively. Crucially, test your motor cutoff sensors. With the bike on a stand, give it a tiny bit of throttle and tap each brake lever. The motor must cut out instantly.
- Drivetrain and Wheels: Give the wheels a spin. They should move freely without any wobble. Check your tire pressure and run through every gear to ensure the chain shifts smoothly.
- Electrical Connections: Gently tug on every wire connector. You want to be sure they're all fully seated and secure. A loose connection is a classic reason for intermittent power failures on a first ride.
I’ve seen firsthand what happens when a builder skips these checks. A friend once forgot to fully tighten his torque arm bolt on a powerful hub motor. On his first test ride, the axle spun out of the dropout, ripping wires out and nearly sending him over the handlebars. A five-minute check would have prevented the entire incident.
The First Test Ride
Your maiden voyage should happen somewhere safe and controlled. Think of an empty parking lot or a quiet, flat street with zero traffic. This is absolutely not the time to see how fast it can go or tackle that monster hill by your house.
Start with the power completely off. Just pedal it around like a regular bike for a minute. Get a feel for the new weight and balance.
Once you’re comfortable, turn the system on at its lowest pedal-assist setting. As you pedal, you should feel a smooth, predictable surge of power. Test each assist level, one by one. Then, from a complete stop, very gently test the throttle to understand its sensitivity. Practice starting, stopping, and turning. Listen for any weird noises—clicks, grinds, or rattles. This initial ride is all about dialing things in and spotting anything that needs a final tweak.
Navigating Local E-Bike Laws
Congratulations, you have a fully functioning e-bike! You’re now part of a bigger transportation ecosystem, which means you need to know the rules of the road. E-bike regulations can be a patchwork, varying wildly from state to state, and even city to city.
Here’s what you need to look up for your area:
- Motor Wattage Limits: Many places cap the legal motor power at 750W.
- Speed Limits: There are often speed limits for motor assistance, typically 20 mph for Class 1 and 2 e-bikes.
- Helmet Laws: These often vary based on age. It's always a good idea to wear one regardless.
- Where You Can Ride: Some bike paths or multi-use trails may have restrictions on e-bikes.
A quick online search for "[Your City/State] e-bike laws" should give you all the info you need. Following these rules isn't just about avoiding a ticket; it's about being a responsible rider and keeping everyone safe. For more general advice, check out our comprehensive list of electric bike safety tips for best practices on every ride.
Got Questions? Let's Talk Real-World E-Bike Builds
Even with the best instructions, your first e-bike build is bound to spark a few questions. That’s perfectly normal—it’s how you learn. I’ve put together answers to some of the most common hurdles and "what if" scenarios people run into.
Think of this as the conversation you'd have with a seasoned builder over a cup of coffee. We're tackling the practical stuff that can trip you up, so your build process is less about frustration and more about the fun of creating something awesome.
What's a DIY E-Bike Going to Set Me Back?
This is always the first thing people want to know, and the honest answer is it really comes down to what you want to build. You can get rolling on a surprisingly small budget, or you can go all-in on a performance beast that leaves pricey store-bought models in the dust.
- The Budget Commuter: You can get a basic rear hub motor kit with a decent 36V battery for somewhere in the $400 to $600 range. This is a fantastic starting point for cruising around town on mostly flat ground.
- The All-Rounder Sweet Spot: If you want more punch, a 750W motor paired with a solid 48V battery is where it's at. Budget for $700 to $1,200. This setup gives you great versatility for hills and longer rides—it’s what I recommend for most first-time builders.
- The High-Performance Hill-Crusher: For those who want serious torque and premium power, a top-tier mid-drive motor and a massive battery will push you north of $1,500. This is for the enthusiast who plans on tackling steep, challenging terrain.
Your final tally really boils down to two things: the quality of your motor and the capacity of your battery (measured in Watt-hours).
If there's one piece of advice I can give you, it's this: don't try to piecemeal a build with cheap, mismatched parts from a dozen different online shops. Buying a complete, matched kit from one reputable company will save you from a world of compatibility headaches and almost always works out to be a better value.
Can I Just Convert My Old Bike?
Technically, you can slap a motor on almost any bike, but you really shouldn't. The best donor bikes are the ones that were built to be tough and reliable from the start.
Stick with frames made of steel or aluminum. They have the backbone to handle the added weight and torque of a motor without complaining. I'd steer clear of carbon fiber frames unless the manufacturer has specifically given the green light for e-bike conversions—the clamping forces from a motor mount can literally crush the carbon, leading to a catastrophic failure. Nobody wants that.
You also have to play matchmaker with the components. For a hub motor, get out your ruler and measure the space between your rear dropouts; 135mm is the gold standard you're usually looking for. For a mid-drive, the critical measurement is your bottom bracket shell width, which is almost always 68mm or 73mm.
How Scary Is the Wiring?
I get it, a tangle of wires can look pretty intimidating. But here’s the good news: modern e-bike kits have made the wiring process incredibly straightforward.
Most systems now use color-coded connectors that are "keyed," meaning they're shaped to plug in only one way. It’s almost impossible to mess up. Honestly, the hardest part isn't connecting the plugs; it's cable management. Taking the time to route your wires neatly along the frame, zip-tying them securely, is what makes a build look professional. A clean wiring job doesn't just look good—it prevents snags on the trail and protects your electrical system from rain and grime.
Ready to start a project with parts you can actually count on? The team at eBike Gang has a curated lineup of components and complete bikes, all backed by a real warranty and US-based support that actually picks up the phone. Check out the latest gear and get your build rolling today.