

Before you hit the road or trail, there's one quick check that's absolutely non-negotiable for a safe, smooth ride: your tire pressure. Getting your bike tires inflated correctly is a simple, two-minute ritual that only requires you to know your valve type, have the right pump, and aim for the correct pressure (PSI). Once you nail this basic skill, you'll roll out with confidence every single time.
Everything You Need for Inflating Bike Tires
Figuring out your bike's inflation system can seem a little confusing at first, but it quickly becomes a straightforward habit. You don't need a whole garage full of gear; just a few key items will have you set for routine top-ups at home and those inevitable flats on the trail. Really, it all boils down to two things: the valve on your tire and the pump you use to fill it.
The demand for reliable cycling gear is booming. The global bicycle tire market was valued at around USD 11.0 billion in 2025 and is on track to more than double to about USD 25.6 billion by 2035. This huge jump is fueled by better cycling infrastructure and the massive popularity of e-bikes.
Presta Vs Schrader Valves
Take a look at your bike's inner tube, and you'll find one of two valve types: Presta or Schrader. Knowing which one you have is the very first step, as it dictates the kind of pump head you’ll need.
Not sure which one you're looking at? Here’s a quick way to tell them apart.
Identifying Your Bike's Valve Type
| Feature | Presta Valve | Schrader Valve |
|---|---|---|
| Appearance | Tall and thin | Short and wide, like a car tire valve |
| Mechanism | Has a small lock nut on the tip that you unscrew to open | Spring-loaded pin in the center; press it to release air |
| Common On | Road bikes, high-performance mountain bikes, gravel bikes | Cruiser bikes, kids' bikes, some mountain and hybrid bikes |
| Best Feature | Holds high pressure well; lighter weight | Extremely durable and universally common |
The good news is that most modern bike pumps are built with a "smart" or dual-head design that fits both valve types, so you probably won't need an adapter. Just flip a lever or swap an internal gasket, and you're good to go.
A simple way to remember the difference: Presta valves require you to press and unscrew the top nut before inflating. Schrader valves are simpler and ready to go once the cap is off.
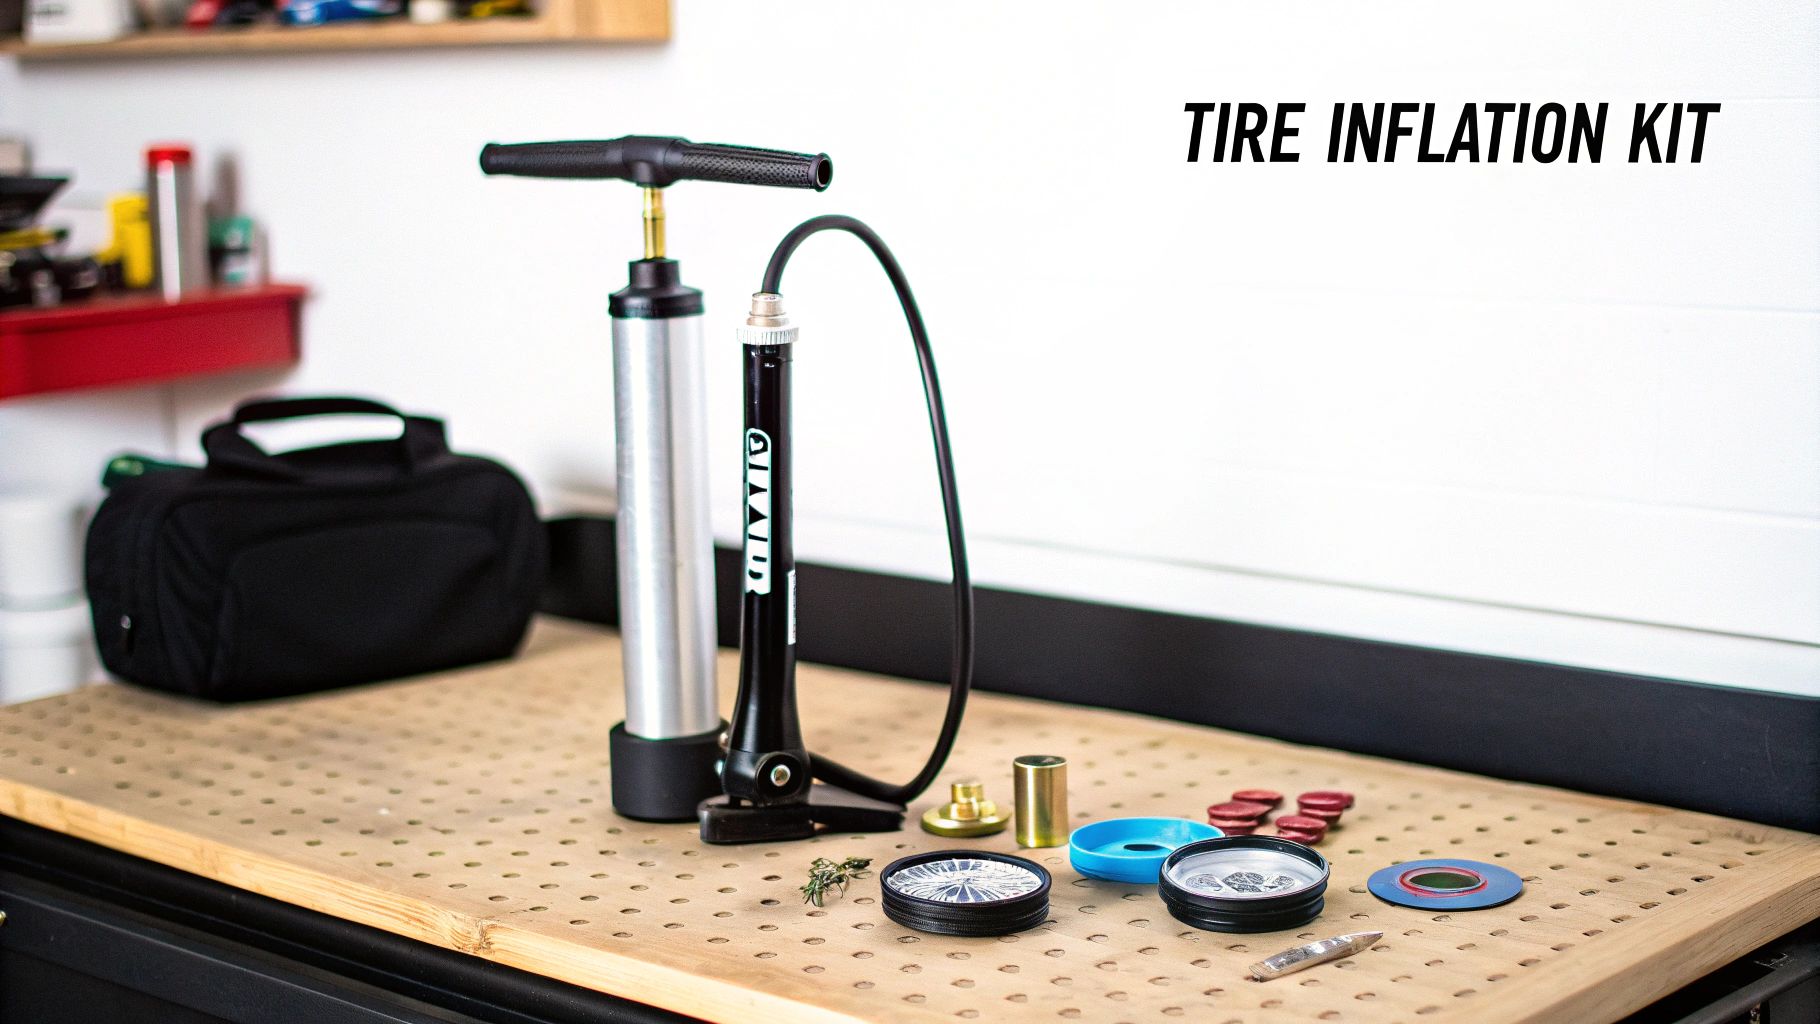
Essential Inflation Tools
Having the right tool for the job makes all the difference. While a single pump can get it done, most cyclists I know end up with a couple of different options to cover all their bases.
- Floor Pump: This is the gold standard for home use. Its big chamber, stable base, and built-in pressure gauge make inflating tires a quick, accurate, and almost effortless job. Seriously, every rider should have one.
- Hand Pump: A compact pump designed to be carried on your bike frame or tossed in a backpack. It’s a lifesaver for fixing flats mid-ride but be prepared to put in some serious elbow grease to reach higher pressures.
- CO2 Inflator: This is your get-out-of-jail-free card. CO2 inflators use small, compressed carbon dioxide cartridges to inflate a tire in seconds—the fastest option for a trailside repair. Just remember, each cartridge is a one-shot deal.
To make sure you're fully prepared for any adventure, it's worth checking out a guide on essential bikepacking gear. And for those of you on e-bikes, where a solid setup is even more critical, our guide to the best electric bike accessories can help you find the perfect tools for the job: https://ebikegang.com/blogs/news/best-electric-bike-accessories
Choosing the Right Inflation Tool for the Job
Picking the right pump isn't just about getting air into your tires; it's about having the right tool for the right situation. What works perfectly in your garage is definitely not what you want to be fumbling with on the side of a trail. Let's break down the options so you're never caught unprepared.
The Foundation: Your Floor Pump
Every rider, no matter what they ride, should own a good floor pump. This is your workhorse for at-home maintenance. Seriously, it's non-negotiable.
The wide base and long chamber let you use your body weight, not just your arm strength, to get tires up to pressure. It's fast, efficient, and lets you hit high PSIs without breaking a sweat. Most importantly, the large, easy-to-read pressure gauge gives you the accuracy you need to dial in your tire pressure perfectly before you head out. Think of it as a 30-second pre-ride ritual that makes all the difference in your ride quality and safety.
On-the-Go Fixes: Portable Pumps
When you're out on a ride and hear that dreaded pssssst of a flat, your floor pump is of no use back at home. This is where portable pumps save the day.
A mini pump (or hand pump) is the classic companion for any cyclist. They’re small and light enough to strap to your bike frame or toss in a pack without a second thought. But there’s a trade-off for that convenience. Their small size means you're in for a workout, as it takes a lot of strokes to reach even a rideable pressure. They're lifesavers, but they are designed for emergencies, not everyday use.
For a more modern and less strenuous option, a portable lithium battery air pump can be a game-changer. It takes the manual labor out of the equation, making it a fantastic tool for quick top-ups on the trail for your bike or other outdoor gear.
For When Speed is Everything: CO2 Inflators
If you're a racer, a group rider who doesn't want to hold everyone up, or you just hate messing with flats in bad weather, a CO2 inflator is your best friend. These little devices use a pressurized cartridge to inflate your tire in literal seconds. It's the fastest way to get rolling again after a puncture, period.
There's a catch with CO2, though. The gas is a one-shot deal per cartridge, and it seeps out of a rubber inner tube much faster than regular air. A tire inflated with CO2 will get you home, but you'll need to deflate it and re-inflate it with a proper pump later.
The smartest approach? Have both. Keep a trusty floor pump at home for routine checks and choose either a mini pump or a CO2 inflator (and a few cartridges!) for your ride kit. Having the right tools makes tire trouble a minor inconvenience instead of a major headache.
If you're looking to build out your toolkit, you can find great pumps and other must-have bike parts and accessories to cover all your bases.
Getting It Right: The Step-by-Step Guide to Inflating Your Tires
Knowing how to inflate your bike tires is one of those fundamental skills every rider should master. It's not just about avoiding a frustrating pre-ride flat; it's about safety, efficiency, and getting the best possible performance out of your bike. Let's walk through the process, from prepping the valve to getting the pump off without losing all your hard work.
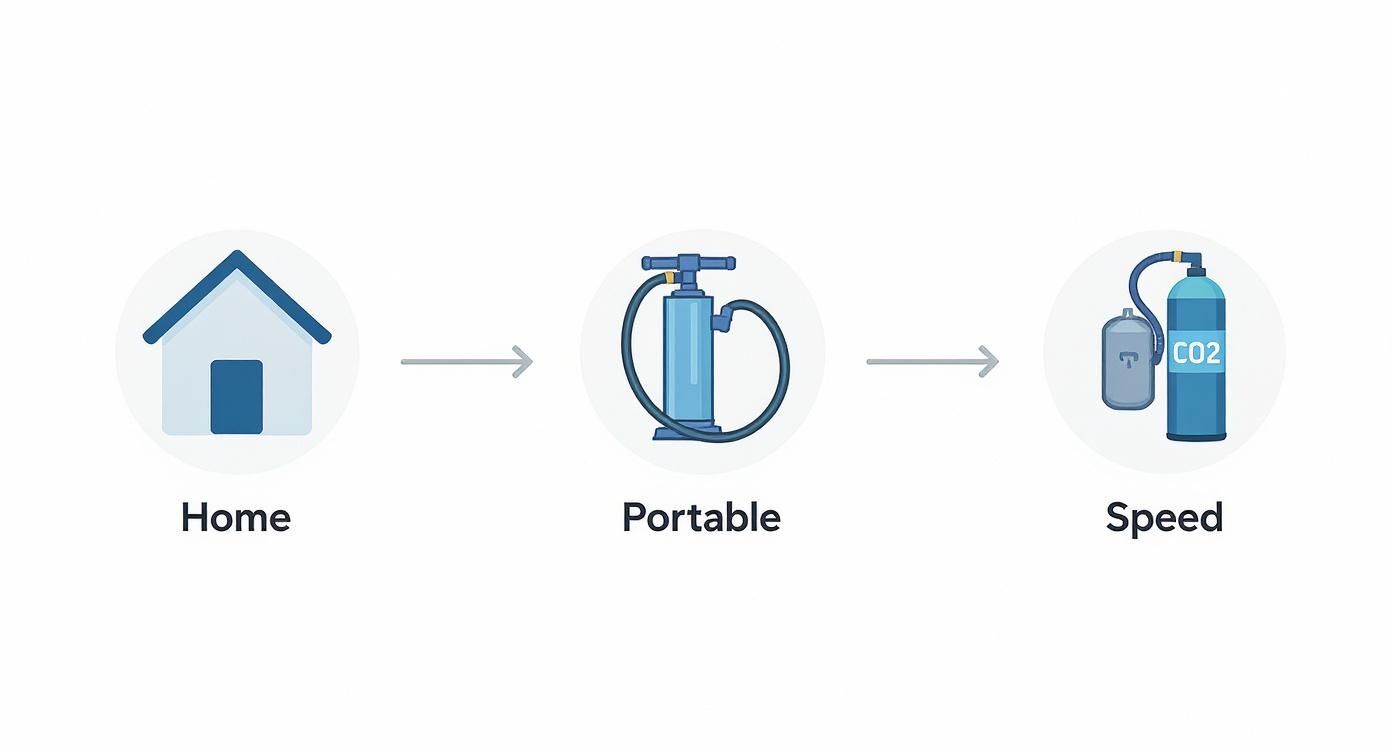
The right tool for the job makes all the difference. Think of it as a hierarchy: the precise floor pump is your go-to at home, a portable hand pump is your trail-side companion, and a CO2 inflator is your ace in the hole for a race-day emergency.
Having the right inflation method handy, whether you're in your garage or miles from anywhere, is the first step to a hassle-free ride.
First Things First: Prep the Valve
Before you even think about attaching the pump, you have to get the valve ready to accept air. How you do this depends entirely on what kind of valve you're working with.
- Presta Valves: These are the skinny ones common on road and high-performance mountain bikes. First, unscrew the little plastic dust cap. Then, you'll see a small knurled lock nut at the very tip—unscrew it counter-clockwise until it stops. Here's a pro tip: give the tip a quick press. You should hear a little "pssht" of air. This "burps" the valve, making sure it isn't stuck shut.
- Schrader Valves: These are the same type you see on car tires. It's much simpler: just unscrew the plastic dust cap. The spring-loaded pin inside is all set, no extra steps needed.
This quick prep is a step people often skip, but it's the secret to a smooth, easy connection every time.
Getting a Good Seal: Connect the Pump Head
One of the most common frustrations is a leaky connection between the pump and the valve. If you hear a hissing sound, you're just pumping air into the room, not your tire, and your pressure gauge will be lying to you.
Push the pump head firmly and straight onto the valve stem. Don't be timid. Once it's on, flip the locking lever to secure it—this is usually perpendicular to the pump head itself. A good connection is a silent one. If you hear any hissing, pop it off and try again.
A wobbly fit or the sound of escaping air is a dead giveaway of a bad seal. The number one mistake I see is not pushing the pump head far enough onto the valve stem before locking it. A secure fit is everything.
Pump It Up (and Watch That Gauge)
With the pump head locked on tight, you're ready to go. If you're using a floor pump, plant your feet on the base to hold it steady. Use your body weight to drive long, smooth strokes—it's way more efficient and less tiring than trying to muscle it with just your arms.
As you pump, keep your eye on the pressure gauge. Every tire has a recommended PSI (pounds per square inch) range printed right on the sidewall, often something like "80-110 PSI." Your goal is to land somewhere in that range, adjusting for your body weight and the type of terrain you'll be riding.
The Grand Finale: Removing the Pump
You've hit your target PSI. Now for the final move: a clean getaway.
First, quickly flip the locking lever back to its unlocked position. Then, in one swift, decisive motion, pull the pump head straight off the valve. Don't wiggle it, just a quick pull.
You’ll hear a brief hiss of air escaping as you disconnect—that's totally normal and you'll only lose a tiny, insignificant amount of pressure if you're fast. For Presta valves, give that little lock nut a quick finger-tightening twist to close it up. Finally, screw the dust caps back on, and you're ready to roll.
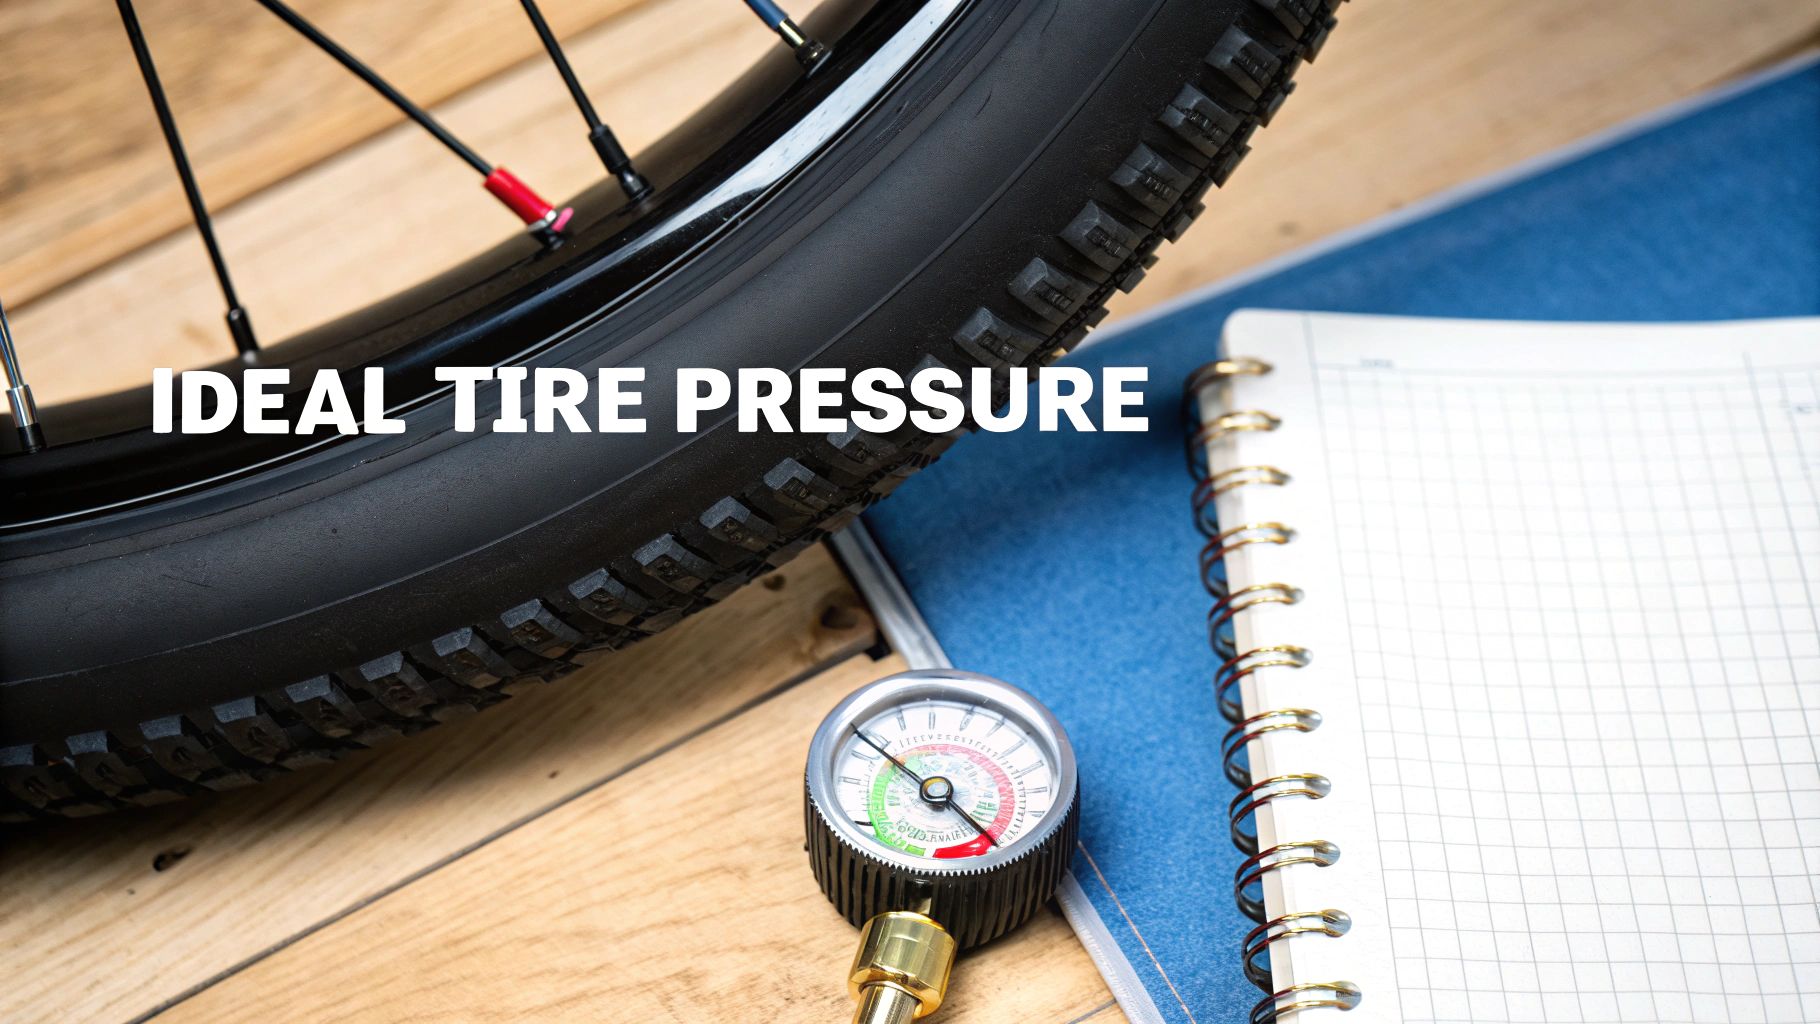
Finding Your Ideal Tire Pressure
If there's one secret that separates seasoned riders from beginners, it's knowing how to dial in the perfect tire pressure. Honestly, it’s the single most important tweak you can make to your bike. Getting this right transforms inflating your tires from a chore into a performance-tuning art form, unlocking better grip, more comfort, and even a bit more speed on any surface.
Every tire has a recommended pressure range printed right on the sidewall—you’ll see something like “Min 35 - Max 65 PSI.” This is a great starting point, but think of it as a ballpark figure, not a hard-and-fast rule. Your ideal pressure is a personal number that shifts based on a few key variables.
What Determines Your Perfect PSI?
The numbers on the tire's sidewall don't know anything about you. Your body weight is the most critical factor here. A heavier rider simply needs more air pressure to support their weight and prevent the dreaded pinch flat. On the flip side, a lighter rider can run lower pressures for a much smoother, more forgiving ride.
Next up is where you're actually riding. Smooth, freshly paved tarmac is where higher pressures shine, giving you maximum rolling efficiency. But take that same rock-hard tire onto a chunky gravel road or a root-infested trail, and you'll be bouncing around all over the place. For rougher terrain, you want lower pressure so the tire can deform and grip the ground.
Don't forget about tire width, either. Wider tires have a much larger air volume, so they need way less pressure than skinny road tires to feel firm and supportive. This is especially true for plus-sized or fat tire e-bikes, which often perform best well below 20 PSI.
The goal is to find the lowest pressure you can run without risking a pinch flat or feeling the tire squirm and fold under you in hard corners. That sweet spot gives you the best blend of traction, comfort, and speed.
Good Starting Points for Different Bikes
Finding your perfect PSI takes a bit of trial and error, but you need a place to start. The chart below gives you some solid baseline numbers based on bike type and rider weight. Use these as a jumping-off point, and don't be afraid to adjust by a few PSI before each ride until you nail down what feels best for you and your local roads or trails.
Recommended Tire Pressure (PSI) by Bike Type
This table provides starting PSI ranges for various cycling disciplines. Remember to adjust these figures based on your specific weight, tire choice, and terrain conditions.
| Bike Type / Tire Width | Rider Weight ~150 lbs (68kg) | Rider Weight ~200 lbs (90kg) |
|---|---|---|
| Road Bike (28mm) | 70-80 PSI | 80-90 PSI |
| Gravel Bike (40mm) | 35-45 PSI | 40-50 PSI |
| Mountain Bike (2.4") | 22-26 PSI | 25-29 PSI |
Think of these numbers as your initial setting. From here, let the feel of the ride guide your adjustments.
Modern Tires Need More Precision
Over the last ten years, tire tech has come a long way. We now have advanced rubber compounds and game-changing designs like tubeless setups that deliver incredible performance. The catch? They demand more precise inflation to work their best. This is exactly why getting your pressure right isn't just a minor detail anymore—it's essential for getting the performance and longevity you paid for.
Troubleshooting Common Inflation Problems
https://www.youtube.com/embed/-UTnDheAMcE
Even when you know what you're doing, inflating a bike tire can go sideways. A pump head that refuses to seal, or a valve that seems completely stuck, can turn a two-minute job into a frustrating ordeal. But don't sweat it—most of these common hiccups are surprisingly easy to fix.
Let's walk through the most frequent issues you'll run into. Armed with these tips, you can sort things out quickly, whether you're in your garage or stuck on the side of a trail.
Why Is My Pump Hissing?
You clamp the pump head onto the valve, flip the lever, and start pumping, only to be greeted by that familiar, frustrating hissing sound. That's the sound of a bad seal, and it means air is escaping instead of going into your tire.
Nine times out of ten, the fix is just seating the pump head properly. It's the most common mistake people make—not pushing the pump head far enough onto the valve stem before locking it down.
- For a Presta valve, remember to unscrew the little lock nut at the tip and give it a quick press to "burp" it and break the seal first.
- For a Schrader valve, just make sure the pump head goes on straight and deep.
Pull the pump head off, take a breath, and push it back on firmly and evenly. Then, snap the lever into the locked position. A good, tight connection will be totally silent.
Help! My Pump Head Is Stuck
The opposite problem can be just as annoying: you've hit your target pressure, but the pump head feels like it's been super-glued to the valve. Whatever you do, don't just yank and wiggle it—you risk damaging the valve stem, especially the more delicate Presta valves.
There's a better way. Hold the pump head with one hand. With your other hand, place your thumb against the tire, right next to the valve stem, and apply a bit of counter-pressure. This holds the valve steady while you pull the head straight off in one quick, clean motion.
Don't get into a wrestling match with a stuck pump head. Once the locking lever is released, give it one firm, direct pull straight off the valve. A little side-to-side wiggle is okay, but never bend the valve stem.
Losing Air When I Take the Pump Off
You've pumped your tire up to the perfect PSI, but as you pull the pump off, a loud WHOOSH of air escapes, and the tire instantly feels softer. A tiny, brief hiss is normal, but losing a noticeable amount of pressure points to a small flaw in your technique.
This usually happens when you remove the pump too slowly or at an angle, holding the valve open for a split second too long.
The solution is all about speed and precision. As soon as you flip that locking lever, don't hesitate. Pull the pump head straight off the valve as quickly as you can. This minimizes the time the valve core is depressed, keeping all that precious air right where you want it.
Answering Your Top Questions About Pumping Bike Tires
Even once you get the hang of pumping up your tires, a few questions always seem to come up. Getting those sorted out is the key to building a solid maintenance routine. Let's dig into some of the things people ask about most often.
How Often Should I Actually Check My Tire Pressure?
Honestly? The best practice is to check it before every single ride. I know that sounds like a chore, but it’s a two-minute habit that makes a massive difference in how your bike feels and performs.
High-pressure road bike tires are the worst offenders; they can easily lose 5-10 PSI just sitting overnight. Mountain and gravel bike tires hold air better thanks to their larger volume, but even they should get a quick check every few days. This little step is your best defense against pinch flats and ensures your bike grips and handles the way it's supposed to.
You can’t trust the old thumb squeeze test. It's just not accurate, especially with higher PSI tires. A reliable pressure gauge is the only way to know you’re hitting the right numbers.
Can I Just Use the Air Compressor at the Gas Station?
Technically, yes, but I strongly advise against it. It's a huge risk. Those compressors are built to fill massive car tires and can blast a bike tire into oblivion in a split second. Seriously, it happens that fast.
If you find yourself in a real jam and it's your only choice, you have to be incredibly careful.
- First, you'll need a Schrader valve or a Presta-to-Schrader adapter.
- Use the absolute shortest bursts of air you can manage—we're talking fractions of a second.
- After each tiny burst, stop and check the pressure with a separate, trustworthy gauge.
Don't even think about trying this with skinny, high-pressure road tires. The chance of a dangerous blowout is just too high. A bike-specific pump is always the right tool for the job.
What’s the Big Deal if My Tires Are a Little Over or Underinflated?
Getting your tire pressure right is a balancing act, and messing it up either way causes real problems for your ride quality and safety.
A soft, underinflated tire will feel sluggish and slow, like you're riding through sand. The real danger, though, is how poorly it handles in turns and how vulnerable it is to "pinch flats"—that's when the tube gets squeezed between your rim and a rock or pothole, leading to an instant flat.
On the other hand, an overinflated tire makes for a brutally harsh and chattery ride. It can't conform to the road or trail surface, which kills your traction and makes the bike feel skittish. It also puts you at a much higher risk of a blowout, especially on a hot day as the air inside expands.
Ready to ride with confidence? eBike Gang, LLC has the high-performance e-bikes and electric dirt bikes you need to conquer any terrain, backed by expert support and a solid warranty. Find your perfect ride today.