

Thinking about turning your favorite bike into an e-bike? It's a fantastic project that's probably more straightforward and budget-friendly than you imagine. With a good conversion kit—which is basically a motor, battery, and controller—you can electrify your existing ride over a weekend. You get to keep the bike you already know and love, just with a powerful electric boost.
Why Convert Your Bike Instead of Buying New?
Going the DIY route to turn your bike into an electric bike is a smart move for anyone who wants more than an off-the-shelf model can offer. It's a compelling mix of cost savings, personalization, and sustainability that you just don't get when buying a pre-built e-bike. Plus, for many of us, the satisfaction of building it yourself is the best part.
This isn't just a niche hobby anymore. The global market for e-bike conversion kits was valued at a whopping USD 7.53 billion in 2025 and is on track to hit USD 12.35 billion by 2030. That’s a huge shift, showing how many people are embracing this approach to modern transport. You can find more market growth data for e-bike conversion kits that highlights this trend.
The Big Wins of a DIY E-Bike Conversion
When you build it yourself, you're in the driver's seat. You get to call the shots on power, range, and all the little features that make a bike yours.
- Serious Cost Savings: A quality conversion kit almost always costs less than a comparable new e-bike. We're talking similar, or even superior, performance for 30-50% less money.
- Ultimate Customization: You hand-pick every component. Need a beast of a motor for tackling steep hills? Or maybe a huge battery for epic cross-country adventures? It's all up to you.
- Keep the Bike You Love: There's no reason to ditch a bike that fits you like a glove. A conversion enhances what you already have, so you don't lose that familiar comfort and ride feel.
- A Greener Choice: Upgrading is a great way to be more eco-friendly. You're breathing new life into your current bike, which cuts down on waste and the environmental cost of manufacturing a new one.
A DIY e-bike conversion is more than just a weekend project—it's about creating a ride that’s perfectly tuned to you. You end up with a machine built for your commute, your trails, and your budget in a way that no mass-produced e-bike ever could be.
So, where do you start? The heart of any conversion is the motor. Choosing the right one is your first big decision, and it sets the tone for the entire project.
The table below breaks down the three main motor types to give you a clear starting point.
Quick Comparison of E-Bike Motor Types
This table gives you a quick snapshot of the core differences between front hub, rear hub, and mid-drive motors to help you figure out which one fits your needs and skill level.
| Motor Type | Best For | Installation Difficulty | Typical Cost Range |
|---|---|---|---|
| Front Hub | Flat terrain, commuting, and simple installations. | Easy | $250 - $500 |
| Rear Hub | All-around use, better traction, and moderate hills. | Moderate | $300 - $650 |
| Mid-Drive | Hill climbing, off-road, and high-performance riding. | Hard | $500 - $1,200+ |
Each motor type changes the bike's handling and performance characteristics significantly. Think about your typical ride—is it a flat city commute or a hilly trail adventure?—and that will guide you to the right choice.
Choosing the Right E-Bike Conversion Kit
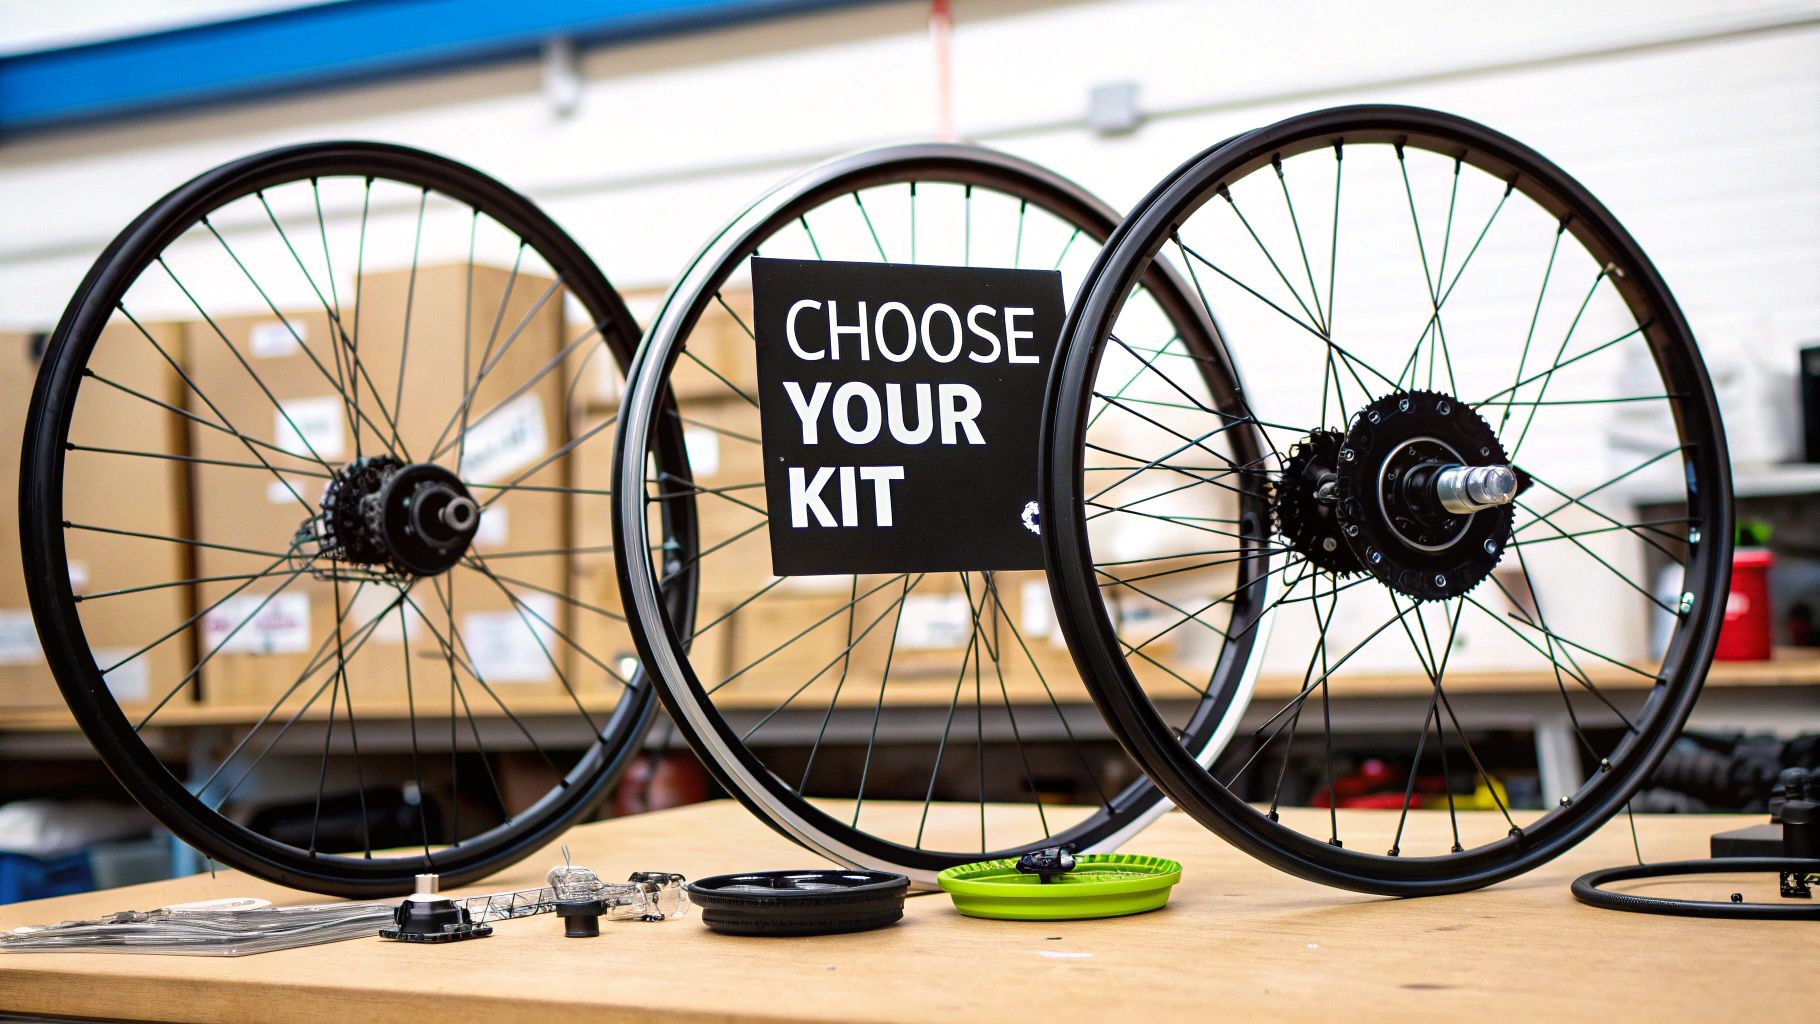
The single most important decision you'll make when you turn your bike into an electric bike is picking the right conversion kit. This one choice has a domino effect, influencing everything from your bike's performance and handling to how complicated the installation will be. It's not just about slapping a motor on; it’s about creating a balanced system where the motor, battery, and your bike frame all play nicely together.
So, where do you start? The best place is to think honestly about your riding style and the terrain you’ll be tackling. Are you a city commuter gliding over mostly flat pavement? Maybe you're a weekend warrior who loves exploring varied paths. Or are you a serious mountain biker chasing steep, technical climbs? Each of these scenarios points to a very different kind of motor.
Let’s break down the three main options you'll encounter.
Front Hub Motors: The Simple and Stealthy Choice
Front hub motors are the definition of simplicity. The entire motor is neatly contained within an enlarged front wheel hub, which you simply swap in for your existing front wheel. This design makes them, by far, the easiest and quickest type of kit to install. I've seen people get these up and running in under an hour.
Because the motor is totally separate from your bike's drivetrain (the chain, gears, and pedals), you get a unique "all-wheel drive" sensation. Your legs power the back wheel, and the motor pulls you from the front. It’s a fantastic feeling for flat-ground cruising and commuting, offering a gentle, almost silent boost.
- Best for: Flat urban commutes, casual riding, and anyone who wants a straightforward, budget-friendly installation.
- Key Advantage: Simplicity. You don't have to touch your bike's gears or crankset.
- Potential Drawback: The front wheel can sometimes "spin out" on loose surfaces like gravel or wet pavement since there isn't as much weight over it for traction.
Rear Hub Motors: The Powerful All-Rounder
As the name implies, a rear hub motor is built into the hub of your back wheel. This setup gives you a much more natural-feeling push, one that's very similar to how you propel a traditional bike. All that extra weight over the rear wheel also means you get way better traction compared to a front hub motor.
This improved grip makes rear hub kits a genuine workhorse, capable of handling mixed terrain and moderate hills with confidence. The installation is a bit more involved than a front hub—you'll need to transfer your rear gear cassette or freewheel over—but it's still a very manageable DIY project for most folks.
For the vast majority of riders looking to turn their bike into an electric bike for general use, a rear hub motor hits the sweet spot. It strikes the perfect balance between performance, installation ease, and cost, making it a reliable solution for daily rides and weekend adventures.
Mid-Drive Motors: The Peak of Performance
If you demand the absolute best in efficiency and hill-climbing power, the mid-drive motor is the undisputed champion. Instead of sitting in a wheel hub, this motor mounts directly to your bike's bottom bracket—right where your pedal cranks attach.
This central placement is a game-changer for two big reasons:
- Superior Balance: All that weight is kept low and centered, which does wonders for preserving your bike's natural, nimble handling.
- Gear Integration: The motor drives the chain directly, which means it gets to use your bike's existing gears. This is huge for climbing steep hills. You can shift down to a low gear and multiply the motor's torque, letting you crawl up inclines that would stop a hub motor in its tracks.
Mid-drives are the most complex and expensive kits, but for serious mountain biking or conquering relentless hills, their performance is simply on another level.
Decoding Your Battery Needs: Voltage and Amp-Hours
The motor might be the muscle, but the battery is the heart of your new e-bike. To pick the right one, you need to get familiar with two key specs: Voltage (V) and Amp-Hours (Ah).
Here's an easy way to think about it:
- Voltage (V) is the "power" or "oomph" of the system. A higher voltage, like 48V or 52V, translates to faster acceleration and better hill-climbing ability.
- Amp-Hours (Ah) is the "fuel tank capacity" of your battery. A higher Ah number, like 13Ah or 17Ah, means you can ride farther on a single charge.
Multiplying these two numbers gives you Watt-hours (Wh), which is the best overall measure of a battery's total energy. For instance, a 48V 13Ah battery has 624Wh of juice. A bigger tank gets you more miles, but it also adds weight and cost. It's all about matching the battery to your motor and how you plan to ride, ensuring you have the range you need without lugging around extra bulk.
To get a deeper dive into all the essential electric bike parts and accessories in more detail, our comprehensive guide has you covered.
Preparing Your Bike and Gathering Tools
Before you even think about ordering a kit, you need to give your bike a serious once-over. A successful and safe conversion really comes down to whether your bike is a good candidate for the extra power and weight. Think of it as a pre-flight check; skipping this step can lead to a world of frustration or, worse, a dangerous ride.
Not every bike is cut out for this. The first thing I always look at is the frame. You’ll want a frame made of steel or aluminum, as they have the strength to handle the motor's torque and the battery's weight without any issues. Carbon fiber frames look great, but they can be fragile and are generally a no-go unless the manufacturer specifically greenlights a motor kit.
Is Your Bike Ready for an Upgrade?
Okay, so your frame is solid. Next up: brakes. Your bike is about to get a lot heavier and faster. Standard rim brakes often just can't keep up and can feel pretty sketchy when you need to stop in a hurry, especially in the rain.
This is why bikes with disc brakes are a much better starting point. They give you reliable, all-weather stopping power, which isn't just a nice-to-have on an e-bike—it's a critical safety feature. If you’re set on converting a bike with rim brakes, at least upgrade to some high-quality brake pads and make sure they're perfectly dialed in.
The push for e-bikes is huge right now, especially in cities. In Germany, for example, a whopping 2.1 million e-bikes were sold in 2023. This boom is also driving the conversion kit market as people look for a more affordable way in. You can dig into more stats about the global e-bike kit market on techsciresearch.com if you're curious.
Taking Critical Measurements
Now it’s time to grab a tape measure. Don't eyeball this part. Getting precise measurements is non-negotiable and will save you the headache of returning a kit that just doesn't fit.
- For a Mid-Drive Motor: You need the width of your bike’s bottom bracket shell. That's the cylinder where your pedal cranks run through. Most are either 68mm or 73mm, and your kit has to match.
- For a Hub Motor: Measure the space between your frame’s dropouts (the slots where the wheel axle sits). On the front, this is usually 100mm. In the back, it’s typically 135mm for most standard bikes.
Get these numbers right the first time. Trust me.
Your Essential Toolkit
You don’t need a full-blown professional workshop, but a few key tools will make this project infinitely smoother. Some kits throw in a few cheap tools, but having your own quality set is a game-changer.
Pro Tip: If you buy one specialty tool, make it a torque wrench. It's so easy to overtighten bolts and damage your frame or components. A torque wrench takes out all the guesswork and ensures everything is secured exactly to spec.
Here’s a quick list of what you'll want to have on hand before you start:
- A good set of metric hex (Allen) keys. You'll be using these constantly.
- Crank puller tool. This is a must-have for getting your crank arms off, which you'll need to do for any mid-drive install.
- Bottom bracket tool. If you're going with a mid-drive, you'll need the right tool to remove your bike's current bottom bracket. They come in a few different styles, so make sure you get the one that fits your bike.
- Chain tool. You'll likely need to add or remove a link from your chain, especially with a mid-drive motor.
- Wire cutters and zip ties. Don’t underestimate these! They are key for managing your cables and making the final build look clean and professional.
Getting all your tools together first means you can dive into the project without having to make a frantic trip to the bike shop halfway through.
Getting Your Hands Dirty: Installing the Motor and Components
Alright, this is where the real fun begins. You've done the research, you've prepped your bike, and your tools are laid out. Now it's time to transform that pile of parts into a powerful, custom e-bike. We'll tackle this logically, starting with the heavy mechanical work before moving on to the wiring. Take your time here—the satisfaction of seeing it all come together is immense.
First up is the heart of the operation: mounting the motor. How you do this depends entirely on the kit you bought, so your manufacturer's instructions are your best friend. Getting this core component installed securely is the first major milestone.
Before you turn a single bolt, a quick mental check of the prep work is always a good idea.
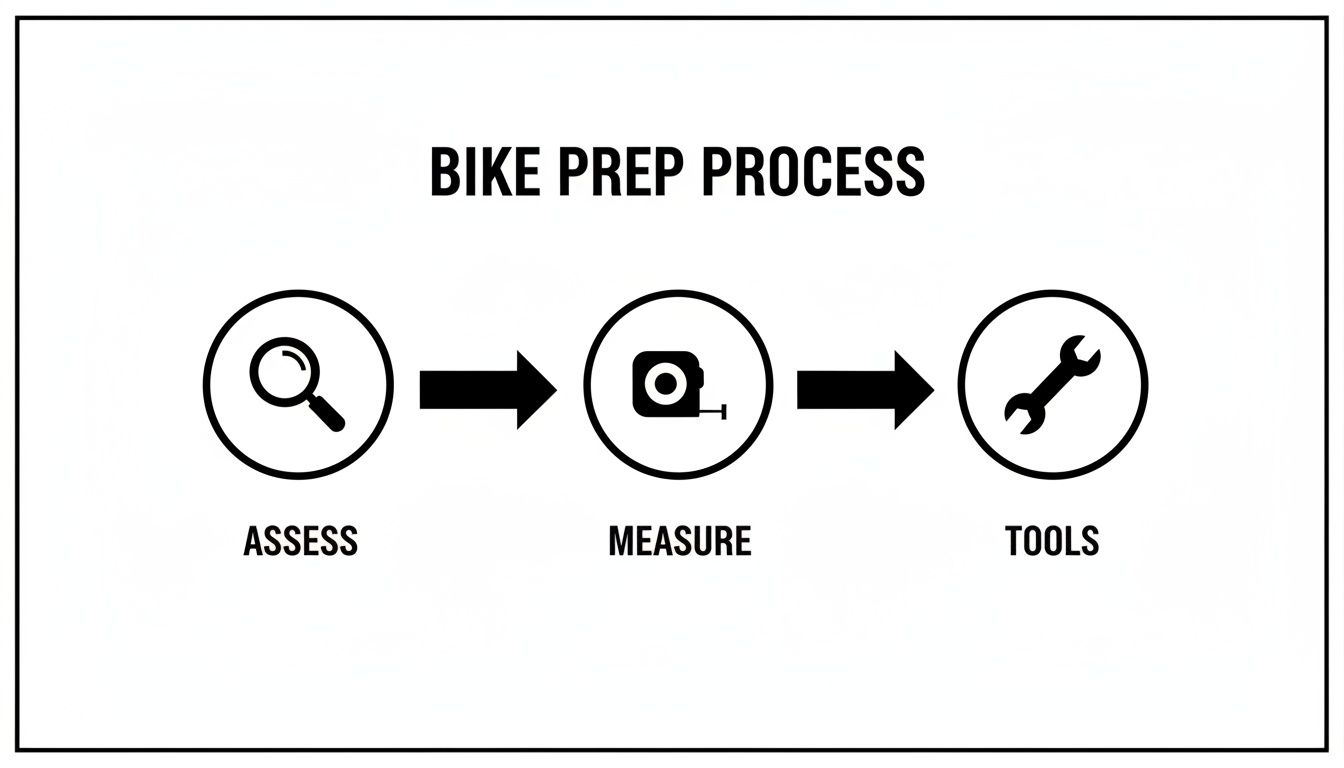
This process really boils down to those three things: assessing your bike's compatibility, taking precise measurements, and having the right tools ready to go. A little prep saves a lot of headaches.
Locking in the Powertrain: The Motor
Every motor type comes with its own set of challenges. Hub motors mean swapping a wheel, while a mid-drive requires you to perform some minor surgery on your bike’s drivetrain.
Mid-Drive Motor Installation
This is usually the most hands-on part of any conversion. You'll start by removing the crank arms and the bottom bracket. Once that's out, the motor assembly slides right into the now-empty bottom bracket shell. The key is to get it seated perfectly before tightening it down with the supplied lockrings and mounting plates.
- Pro Tip: Don't guess with tightness—use a torque wrench. Most mid-drive kits have specific torque values for the lockrings. Go too tight, and you risk damaging your frame. Too loose, and the motor will shift around under power, which is both annoying and dangerous.
Hub Motor Installation
If you went with a hub motor, your main job is replacing either the front or rear wheel. This means you'll need to move your tire and tube over to the new, motorized wheel. For a rear hub, you also have to transfer your gear cassette or freewheel, which calls for a special cassette lockring tool.
With the new wheel built up, just slot it into the bike's dropouts. Now for a critical step: installing the torque arms. These are simple but essential metal braces that stop the motor's force from literally twisting the axle out of your frame. Seriously, don't skip this. It's a massive safety risk.
Mounting the Battery and Controller
Motor's in. Next, you need to find a home for the battery and the controller. Where you place these components has a huge impact on your bike's balance and handling, so think it through.
The down tube is the prime real estate for the battery, often using the water bottle cage mounts. This position keeps the weight low and centered—perfect for a natural-feeling ride. If that won't work on your frame, a rear rack battery is the next best choice, just know that it raises the center of gravity and shifts it backward.
The controller is the brain, a little box with a mess of wires sprouting from it. You want to tuck it away somewhere it's safe from rain and mud but can still get some airflow to cool down. A small frame bag or a purpose-built controller box works great.
Your goal is a balanced, integrated machine. Before you drill any holes or tighten any straps, think about how that weight will feel when you lean into a corner or have to lift the bike. Moving a battery just a few inches can make a surprising difference.
Connecting It All: The Wiring Harness
Now for the part that can look a little intimidating. Don't worry. Most modern e-bike kits are essentially plug-and-play. The connectors are color-coded and shaped so they only fit in one specific socket. You can't really mess it up.
Here’s the general order of operations:
- Connect the big three: Plug the motor, battery, and display into their corresponding ports on the controller. That's your core circuit.
- Set up your cockpit: Mount the display (usually center) and throttle (usually right side) on your handlebars.
- Install the sensors: The Pedal Assist Sensor (PAS) is what tells the motor you're pedaling. This usually involves fitting a magnetic ring around your crankset and attaching a small sensor to the frame nearby.
- Wire up the brake levers: Your kit probably came with new brake levers. These have built-in switches that instantly cut power to the motor the second you pull them—an absolutely essential safety feature.
It's pretty amazing how sophisticated this tech has become. The global electric bike kit market was valued at around USD 54.12 billion in 2025 and is on track to hit USD 87.15 billion by 2032. That growth is driven by cool features like Bluetooth app integration for tuning your ride, which is popping up in more and more conversion kits. You can see more on these trends in this electric bike market report from MarketsandMarkets.
The Finishing Touch: Cable Management
This is what separates a clean, professional-looking build from a messy "rat's nest." A tangle of loose wires isn't just ugly; it's a hazard. Cables can easily snag on branches or, worse, get caught in your spokes.
- Group and secure: Bundle wires that run along the same path (like down the frame's down tube) and fasten them with zip ties.
- Add some protection: Use spiral wrap or braided cable sleeves to consolidate multiple wires into a single, neat-looking tube. It gives your bike a polished, almost factory-built appearance.
- Trim the excess: After everything is connected and tested, snip the ends of your zip ties flush. Nothing's worse than catching your leg on a sharp plastic edge.
Spending an extra hour routing and securing your wiring is worth every minute. It’s the final step that shows you took pride in your work and helps ensure your new e-bike will be safe and reliable for years of riding.
Dialing It In: Final Checks and Your First Ride
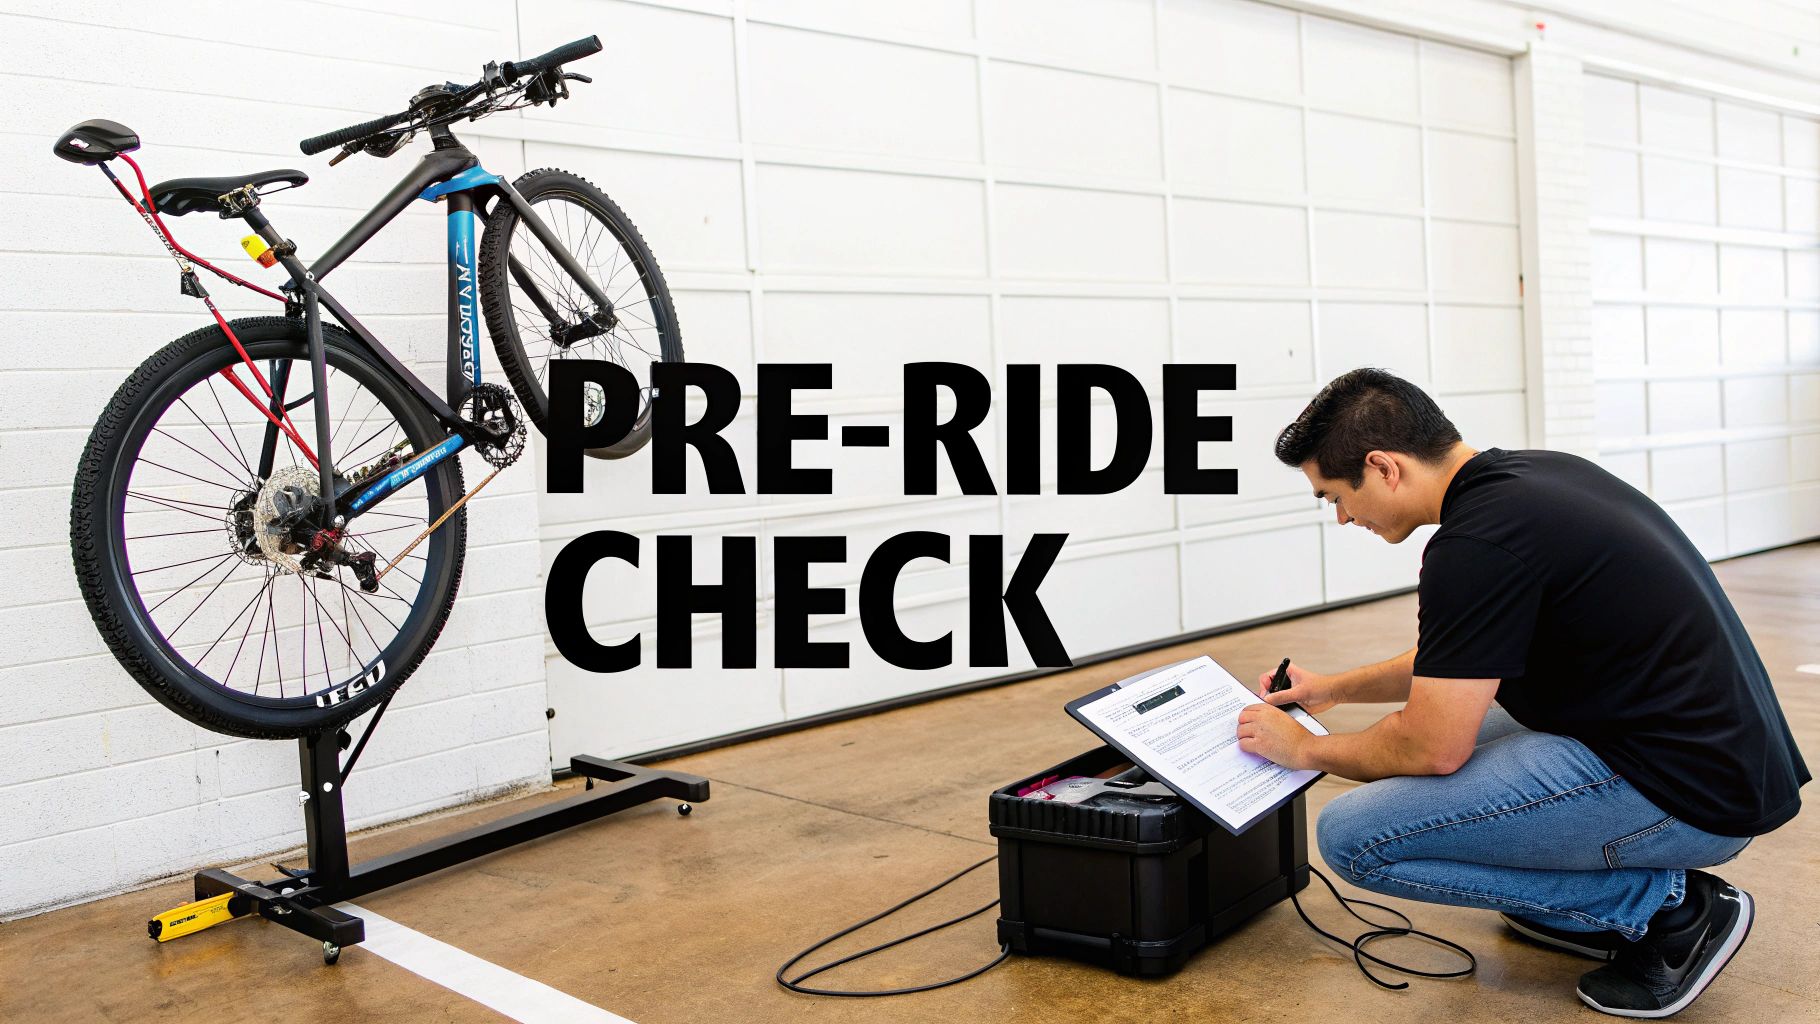
You've managed the last cable and tightened the final bolt. The temptation to immediately hit the road is strong, but hold on. The last stage—a thorough safety and systems check—is absolutely non-negotiable. Skipping this part is a rookie mistake you don't want to make. A few minutes of careful inspection now will save you a world of trouble later.
Think of it like a pilot's pre-flight check. Go over every single connection you made. Put a wrench on the motor mount bolts, torque arm nuts, and the battery bracket. Give the battery a solid shake; if it moves at all, it's not secure enough.
The All-Important Systems Check
Once you're confident everything is mechanically sound, it's time to check the electronics. With the bike on a stand so the drive wheel can spin freely, power on the system and run through these tests.
- Brake Cut-Offs: This is the big one. Squeeze the front brake lever, then the rear. Each one should instantly kill power to the motor. If they don't, do not ride the bike until you've fixed it.
- Throttle Response: Gently twist or push the throttle. The motor should spin up smoothly. When you let go, it needs to stop just as quickly. Any delay is a major red flag.
- Pedal-Assist (PAS): Slowly turn the cranks forward. The motor should kick in after about a half-turn. Now, pedal backward—the motor should stay completely off.
A common hang-up I see is the pedal-assist sensor. People install the magnet ring too far from the sensor, causing the assist to be choppy or non-existent. You're aiming for a tiny gap, just 2-3 millimeters, for a reliable connection.
Taking That First Spin
Alright, it's time for the moment you've been waiting for. Find a big, empty parking lot or a quiet cul-de-sac for this. The goal is to get familiar with how your bike now behaves without traffic or obstacles to worry about.
Keep your first ride slow. Your bike is heavier and faster, and you need to respect that.
Listen for any weird noises from the motor—grinding or clicking are bad signs. Feel for any unusual vibrations. Gently test your brakes to get a feel for the longer stopping distance. This initial ride is all about learning the new personality of your bike.
Fine-Tuning for a Custom Feel
One of the best parts of a DIY build is the ability to customize the ride. Most displays have a hidden "P-setting" menu where you can really dial things in. You'll need to check your manual for the button combination to access it, but it's worth the effort.
Here are a few things you can usually adjust:
- PAS Levels & Power: You can often change the number of assist levels (say, from 5 to 9) and even fine-tune the power percentage for each one.
- Throttle Settings: Don't like a live throttle from a dead stop? You can often configure it to only work once you're already pedaling.
- Startup Power: This is a key setting. A "soft start" gently ramps up the power, which is much kinder to your chain and gears and gives you a far smoother takeoff.
Playing with these settings lets you craft a ride that feels like it was built just for you. For more advice on staying safe out there, our guide on electric bike safety tips is a great resource.
The Nitty-Gritty: Budget, Rules, and Upkeep
Turning your trusty old bike into a zippy e-bike is a rewarding project, but it's more than just bolting on a motor. To do it right, you need to think about the total investment, the rules of the road you'll now have to follow, and how you'll keep your new ride in top shape. Getting a handle on these details from the get-go saves a lot of headaches later on.
The price tag on a DIY e-bike can swing wildly depending on what you're trying to build. A straightforward commuter setup can often be pieced together for around $400-$600. If you're aiming for a powerful mid-drive system with serious torque and range, you could easily be looking at $1,200 or more. Nailing down your budget first is the best way to pick components that fit both your bike and your wallet.
To give you a clearer picture, here’s a look at how the costs can break down across different project levels.
Sample E-Bike Conversion Budget Tiers
This table provides estimated costs for different levels of e-bike conversion projects to help you budget accordingly.
| Component | Basic Commuter (250W-500W) | Mid-Range All-Rounder (750W) | High-Performance (1000W+) |
|---|---|---|---|
| Hub Motor Kit | $250 - $400 | $450 - $600 | $550 - $750 |
| Battery (36V/48V) | $200 - $350 | $350 - $500 | $500 - $800+ |
| Controller & Display | Included in Kit | Included in Kit | Included or $100+ |
| Tools & Misc. Parts | $50 - $100 | $75 - $150 | $100 - $200 |
| Estimated Total Cost | $500 - $850 | $875 - $1,250 | $1,250 - $1,950+ |
Keep in mind that these are just ballpark figures. The final cost depends heavily on the brands you choose and whether you need to buy specialized tools or upgrade other parts of your bike, like the brakes.
Staying on the Right Side of the Law
Once you add a motor, your bicycle isn't just a bicycle anymore—at least not in the eyes of the law. Most places in the U.S. use a three-class system to keep things organized, and you’ll want to make sure your build fits in.
- Class 1: Pedal-assist only (the motor kicks in when you pedal). It cuts off at 20 mph. No throttle allowed.
- Class 2: Has a throttle and can be powered without pedaling. The motor assist, whether by pedal or throttle, stops at 20 mph.
- Class 3: This is the faster pedal-assist class, helping you up to 28 mph. Like Class 1, it can't have a throttle.
If you build a beast with a 1500W motor that ignores these speed limits, you might technically have a moped or motorcycle on your hands. That could mean needing registration, a license plate, and insurance. The rules can vary by state and even by city, so always look up your local ordinances before you start building.
Keeping Your Custom E-Bike Running Sweet
A DIY e-bike needs a little love to keep it performing well. Think of it like a car—a few simple, regular checks can prevent a small annoyance from turning into a major repair job. You'll need to pay attention to both your new electrical system and the original bike parts.
The battery is the heart of your build, so treat it right. Good charging habits make a huge difference in its lifespan. Simple things, like not running it completely dead or leaving it plugged in for weeks, go a long way. For a complete rundown, our guide on lithium battery charging best practices has all the details you need.
Remember that your conversion adds significant value to your bicycle, making it a more attractive target for theft. Given this, it's more important than ever to consider robust measures for security for bicycles to protect your investment.
A quick monthly once-over is a great habit to get into. Just run through this simple checklist:
- Check the connections. Make sure all electrical plugs are snug and show no signs of dirt or corrosion.
- Air up the tires. Proper tire pressure is one of the easiest ways to improve your range and handling.
- Test the safeties. Squeeze your brake levers and make sure the motor cut-off switches are working instantly.
- Wipe it down. Keep the motor and battery case clean from mud and grime to help them run cool.
Common E-Bike Conversion Questions
Even the most seasoned DIYer has questions when tackling a new project. When it comes to turning your bike into an electric bike, a few key questions pop up time and time again. Let’s get you some answers based on real-world experience.
How Much Range Can I Really Get?
This is the big one, and the honest answer is: it depends. Think of your e-bike's range less as a fixed number and more as a moving target influenced by a few key things: your battery's capacity (the Amp-hours, or Ah), your motor's thirst for power, the hills you're climbing, and how much you're pedaling versus just hitting the throttle.
For a ballpark figure, a very common setup—a 48V 13Ah battery hooked up to a 500W or 750W motor—will generally get you somewhere between 25 and 50 miles on a full charge. If you want to push toward the higher end of that range, you’ll need to do your part. Stick to lower pedal assist levels, and don't forget the simple stuff, like keeping your tires properly inflated. It makes a bigger difference than you'd think.
Am I Breaking the Law by Converting My Bike?
Nope, it’s perfectly legal to convert your bike. The catch is that your finished e-bike has to play by the local rules. Most places in the U.S. have a class system for e-bikes that sets limits on things like top speed and whether you can have a throttle.
For example, a Class 2 e-bike is allowed to have a throttle, but it can't provide assistance once you hit 20 mph. Before you even turn a wrench, you absolutely need to look up your state and city regulations. This will tell you what motor wattage and speed settings are legal for riding on public roads and paths.
Your responsibility doesn’t end with the build. Understanding and adhering to local e-bike classifications is crucial for riding safely and legally within your community.